Post-Operative Exercises
Hand Surgery
Dr James McLean has advanced, international sub-specialty training in arthroscopic shoulder surgery (key-hole shoulder surgery), shoulder joint replacement and reconstructive shoulder surgery. Explore the most common shoulder conditions, injuries, treatments and patient resources below.
Hand Surgery - First Two Post -
Operative Weeks
Goals
- To protect your surgical repair and allow healing.
- To prevent finger stiffness that may result from inactivity of the fingers when the limb is splinted.
Precautions
- Keep your dressing clean and dry until your first review. If you have a splint (or plaster), DO NOT remove it.
- Sometimes, a splint is made to hold the fingers in a specific position, especially after surgery. DO NOT remove or damage the splint to do your exercises listed below. Only attempt those exercises achievable with the splint on.
Restrictions
-
To avoid disappointment, ask Dr McLean to clarify your restrictions prior to surgery. Your restrictions will vary depending on the hand surgery that has been performed, and the requirement (or not) to protect repaired structures.
For at least 2 weeks and up to 6 weeks after your operation, with the operated arm:
- No lifting anything heavier than a ‘cup-of –tea’
- No pulling or pushing
- No assistive ambulation device should be used (i.e. a walking stick, crutches)
- No driving (unless otherwise specified) Additional information can be found here.
Dr McLean's 6-Pack Exercises
These exercises can be performed on your own, at home, after your surgery.
- Starting immediately, please perform the exercises at least 5 times a day for 10 repetitions (minimum).
- There is no need to remove your splint (or plaster) to perform these exercises (unless otherwise specified).
- Use your ‘good’ hand to push your fingers into these positions if you can not achieve full movement actively.
- In the first 2 post-operative weeks, physiotherapy is limited to these exercises - formal assessment by your local physiotherapist is NOT RECOMMENDED in the initial protective phase (first 2 weeks) following your surgery.
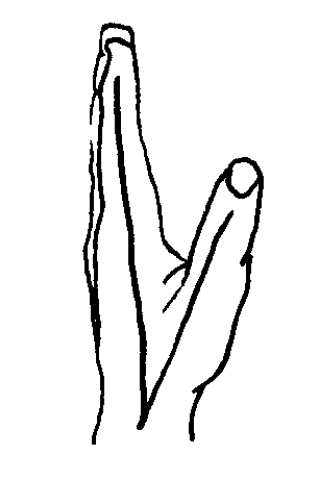
1. Full Finger Extension
Try straighten your fingers yourself. This is called ‘active extension’.
If you cannot fully straighten your fingers, use your ‘good’ hand to push the fingers straighter. This is called ‘passive extension’.
Full finger extensions positions your hand in the shape of an ARROW.
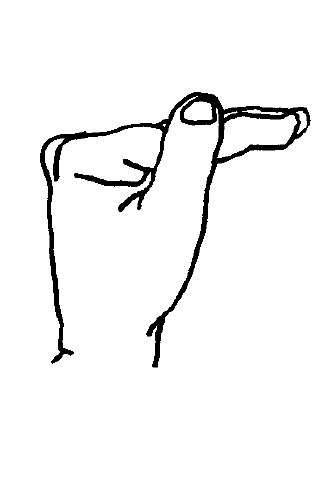
2. Tabletop Position
Try to bend your fingers at the MCP (metacarpophalangeal) joint – this is the joint at the base of each finger. Bending your hand at this joint positions your hand in the shape of a TABLE-TOP.
If you cannot achieve this position, use your ‘good’ hand to push your fingers into position.
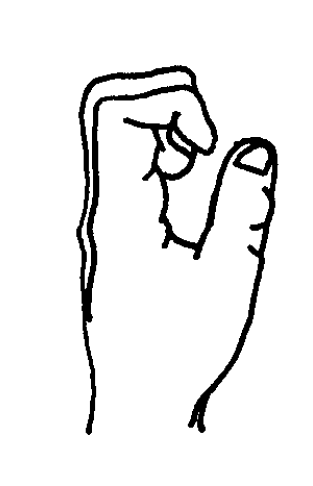
3. Claw Position
Try to bend your fingers at the IP (interphalangeal) joints – these are the joints that act like ‘hinges’ in each finger. Bending your fingers at this joint will make your hand look like a CLAW.
If you cannot achieve this position, use your ‘good’ hand to push the fingers into this position.
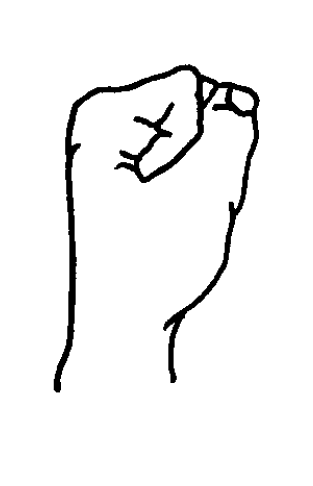
4. Fist Position
Try to bend your fingers to make like a FIST.
If you cannot achieve this position, use your ‘good’ hand to push the fingers into this position.
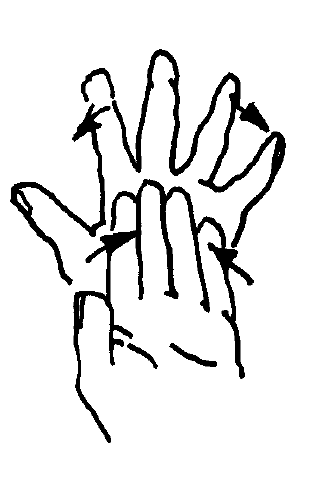
5. In-and-Out Position
Move your fingers apart (abduct) and together (adduct).
If you cannot achieve this position, use your ‘good’ hand to push the fingers into this position.
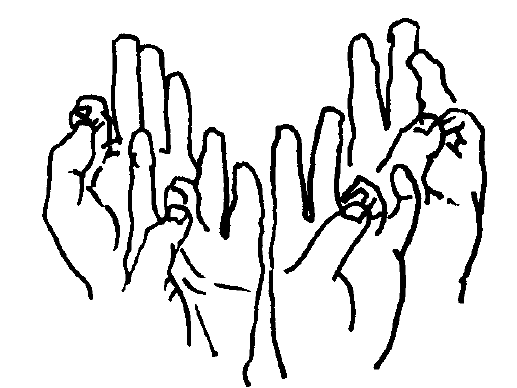
6. Thumb to Tip
Touch the tip of each of your fingers to your thumb.
If you cannot achieve this position, use your ‘good’ hand to push the fingers into this position.
Patient resources for hand conditions
Check out Dr McLean’s articles on hand related information and post surgery information.
Once you have a referral…
Book your consultation here.

